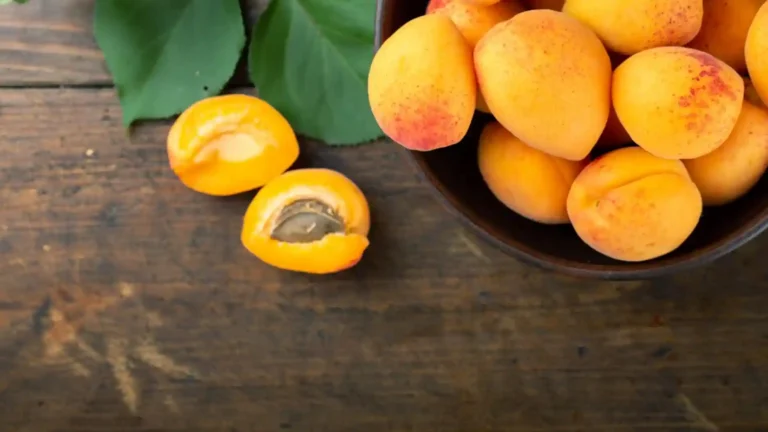
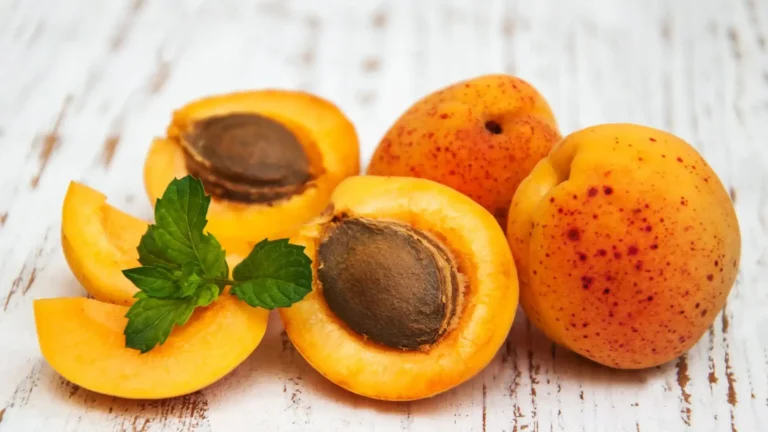
Crafting homemade jelly brings unparalleled joy, especially when it involves the sweet, tangy flavors of apricots. Capturing the essence of summer, apricots reach their peak ripeness from late spring to early summer, making it the ideal season for jelly-making.
This recipe celebrates the simplicity of using fresh, natural ingredients to create a spread that bursts with the pure flavor of apricots. With just a few steps and basic ingredients, you’ll discover how easy and rewarding it is to transform summer’s bounty into a delectable treat that can be enjoyed year-round.
Ingredients Needed
The ingredients needed for this apricot jelly recipe are simple and wholesome, ensuring the natural sweetness of the fruit shines through. You will need:
- 4 cups of apricot juice (prepared from fresh apricots)
- Sugar (the amount may vary depending on the sweetness of the fruit, typically 3/4 cup of sugar for every cup of apricot juice)
- 2 tablespoons of lemon juice to balance the flavors and aid the gelling process
- 1 packet of pectin to ensure your jelly sets perfectly
This combination of ingredients, when cooked together, creates a beautifully translucent jelly that highlights the essence of apricots. The recipe is designed to be straightforward, allowing even beginners to achieve great results.
Equipment Needed
The equipment needed for making apricot jelly is essential for ensuring a smooth and successful process. You will require:
- A large, heavy-bottomed pot for cooking the jelly, which helps in even heat distribution.
- A fine mesh strainer or cheesecloth for straining the apricot juice, ensuring clarity in your jelly.
- A wooden spoon or silicone spatula for stirring the mixture, preventing sticking and burning.
- A candy or jelly thermometer to monitor the temperature for the perfect setting point.
- Sterilized jars and lids for storing the jelly, keeping it fresh, and extending its shelf life.
- A canning funnel and ladle for transferring the jelly into jars, minimizing spills and wastage.
This set of tools aids in making the jelly-making process efficient and enjoyable, from cooking to preservation.
Step-by-Step Apricot Jelly Recipe
Let’s start with the step-by-step apricot jelly recipe that guides you through making a delicious preserve with ease.
Preparing the Apricots:
Start by thoroughly washing your apricots. Pit and chop them into small pieces to facilitate quicker juice extraction. You don’t need to peel them; the skin adds to the flavor and color of your jelly.
Cooking the Mixture:
In a large, heavy-bottomed pot, combine the prepared apricot pieces with sugar and lemon juice. The sugar quantity should be adjusted based on the sweetness of the fruit and the amount of juice obtained. The lemon juice not only adds a slight tartness but also helps in setting the jelly.
Stir the mixture over medium heat until the sugar dissolves, then bring it to a boil. Keep stirring frequently to prevent sticking and ensure even cooking. The mixture should cook until it reaches the gel point, which usually takes about 20-30 minutes.
Testing the Jelly’s Set:
To test if the jelly has set, place a small amount on a cold plate. If it wrinkles when pushed with a finger, it’s ready. Alternatively, use a candy thermometer; the jelly is set at 220°F (104°C).
Canning Process:
While the jelly cooks, sterilize your jars and lids by boiling them in water for at least 10 minutes. Once the jelly is ready, remove it from the heat. Skim off any foam with a spoon to ensure a clear jelly.
Using a canning funnel, ladle the jelly into the sterilized jars, leaving about 1/4 inch of headspace. Wipe the rims clean, place the lids on, and screw the bands until fingertip tight. To process the jars, immerse them in a boiling water bath for 10 minutes to ensure they are sealed. After processing, let the jars cool undisturbed for 24 hours. Check the seals, then store the jars in a cool, dark place.
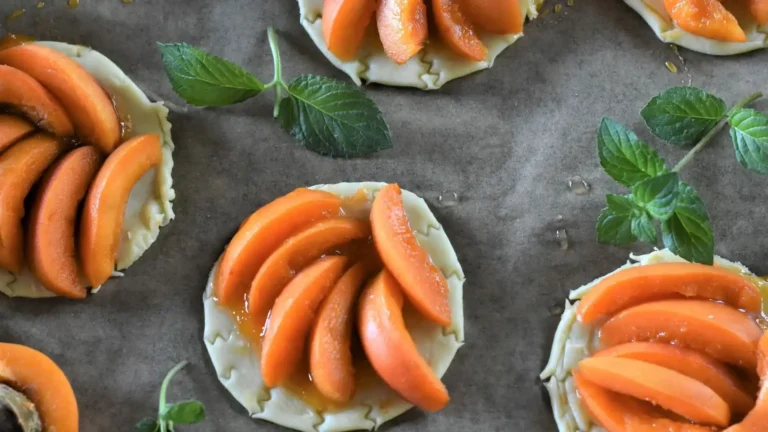
This recipe for apricot jelly yields a beautifully clear, amber-colored apricot jelly that captures the essence of fresh apricots in a jar. Enjoy it spread over toast, as a glaze for desserts, or as a sweet addition to your breakfast table.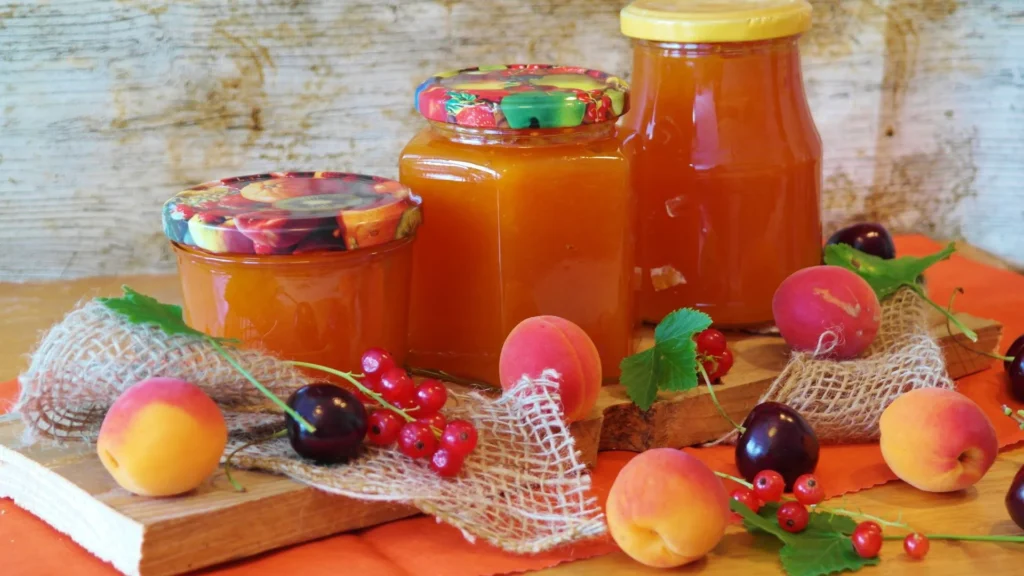
Tips for Perfect Jelly Every Time
Tips for perfect jelly every time focus on fine-tuning ingredients and techniques to ensure a delightful outcome.
Adjusting Sugar Levels:
Taste your apricots before starting. If they’re very sweet, you might need less sugar. If they’re tart, you may need more. This adjustment ensures the jelly’s sweetness perfectly complements the natural flavor of the apricots.
The Role of Lemon Juice:
Lemon juice is crucial not just for its pectin content, which aids in gelling, but also for its acidity, which balances the sweetness of the apricots and enhances the jelly’s flavor. Don’t skip it, even if the apricots are tart.
Checking for the Setting Point of Jelly:
Use the cold plate test or a candy thermometer to check if your jelly has set. Dropping a small amount of jelly onto a chilled plate should form a skin that wrinkles when pushed; alternatively, the temperature should read 220°F (104°C). This ensures your jelly is neither too runny nor too firm.
Storage Advice:
Properly sealed jelly can last up to a year in a cool, dark place. Once opened, store it in the refrigerator and use it within a month. Ensuring your jars are sterilized before filling is crucial to prevent spoilage and extend the shelf life of your jelly.
By adhering to these tips, you’ll create a consistently perfect batch of apricot jelly that retains its flavor and texture, ready to be enjoyed throughout the year.
Troubleshooting Common Jelly-Making Problems
Troubleshooting common jelly-making problems ensures a successful batch every time.
Jelly Too Runny or Too Thick:
If your jelly is too runny, it may not have reached the correct setting point. You can fix this by returning it to the pot, bringing it to a boil, and cooking it a bit longer while frequently testing for setting. If the jelly is too thick, it was cooked too long or had too much sugar. Thin it by gently reheating it with a little water or fruit juice until you reach the desired consistency.
Cloudy Jelly:
Cloudiness can result from stirring the jelly too vigorously while it’s setting or by squeezing the fruit bag when straining the juice. To prevent this, let the juice naturally drip through the strainer or cheesecloth, and avoid stirring the jelly after adding the sugar until it begins to boil.
Seal Failure:
Proper sealing is crucial for preserving your jelly. Ensure the rim of the jar is clean before placing the lid on. Use a water bath canning method, processing jars for 10 minutes to ensure a vacuum seal. If a jar fails to seal after cooling, refrigerate it and use it first. For jars that haven’t been sealed, you can also reprocess within 24 hours with a new lid after checking for nicks on the jar rim that might prevent sealing.
By addressing these issues, you can improve the jelly-making process and enjoy perfectly set, clear, and well-preserved apricot jelly.
Variations and Creative Uses
Variations and creative uses of apricot jelly can elevate this simple spread to new culinary heights.
Adding Flavors:
To infuse your jelly with a unique twist, consider adding a teaspoon of vanilla or almond extract, or a pinch of spices such as cinnamon, nutmeg, or cardamom during the cooking process. These additions can complement the apricot’s natural flavors, creating a more complex and intriguing taste profile.
Creative Ways to Use Apricot Jelly Beyond Toast:
Apricot jelly isn’t just for spreading on bread. It makes an excellent glaze for meats, especially pork and chicken, adding a sweet and tangy layer of flavor. In desserts, it can be used as a filling for cakes, pastries, and thumbprint cookies, or warmed and drizzled over ice cream for a delightful topping. For a creative twist, incorporate apricot jelly into cocktails by mixing it with sparkling water, lemon juice, and your favorite spirit for a fruity, refreshing drink.
Exploring these variations and uses can transform apricot jelly from a breakfast staple into a versatile ingredient that enhances a wide range of dishes.